In The last issue we were discussing reflexes (1. Myotatic stretch reflex, 2. Clasp knife reflex, 3. Flexion reflexes.), and we talked about the first tow and we said that we can deal with them in such a way to get maximum benefits for our practice… did you think about examples?
Well, let us take a look first at the third reflex and then go to practical hints about “using” physiology in our yoga practice.
Flexion Reflexes
These reflexes are a whole group of reflexes that protect our body when we cause to ourselves physical pain. When we touch a hot glass of tea our hand withdraws back without us being conscious about the movement. This is because the pain alarm in the body calls for help and the flexor muscles come to rescues so they contract to bend the arm away from the offending object.
In Hatha Yoga we always differentiate between discomfort and pain. The feeling of discomfort is useful as it is a part of the training process. It shows the level of stretch we are working on in the moment and tells us that we are somewhere near our stretch limit. Pain is totally different. It is the voice of the body telling us we have exceeded the limit. Thus, we should listen to the body and try not to reach a point where this reflex is elicited.
Minimizing the Effects of Myotatic Reflex and Flexion Reflexes
Pearls for practice: Perfect asanas can never be achieved by forcing and pushing. In your practice always move gently and consciously!
Using the Clasp Knife Reflex
As you remember, this reflex works in such a way that allows muscles to relax after intense contracting. So you can use this reflex to allow the hamstrings to relax and enjoy your levels best split or forward bend.
From “anti-split” to split: stretching the muscles of the inner thigh is always a hard mission especially when trying to go into a split or trying to sit in lotus (padmasana). In order to make it easier to open the hips or split, lie down on your back with your hips seated against a wall and legs stretched up by the wall. Split the legs apart to your maximum. Then fix your heals firmly to the wall and try to contract the muscles on the inner side of the thigh (adductor muscles) as if trying to bring the feet together but allowing the heels to restrain the movement. At the same time massage the tendons of these tensed muscles near the pelvis. This will give your body an impression that the muscles are contracted more and more. After that, relax and allow the legs to go apart, and you will notice that the angle between the legs has increased.
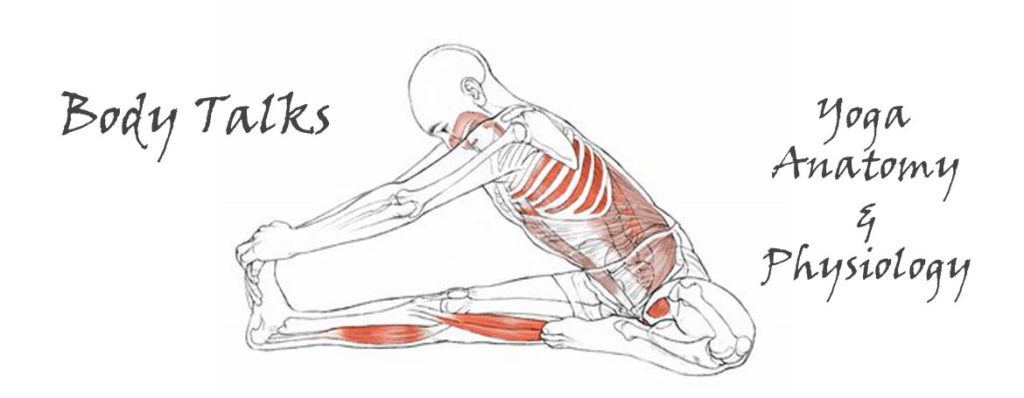
Paschimottanasana the sitting forward bend: first try to go into the forward bend as u usually do. Remember the limit you reached. Then sit on your sitting bones once more with your spine straight and legs stretched in front of you, feet perpendicular to the floor and toes pointing to the ceiling. Inhale, stretch your body up and as you exhale stretch bend forward stretching the arms towards the toes, and before you reach the maximum bend contract your hamstrings for about 10 seconds as if you were trying to penetrate with your heels through the floor. Then relax the hamstrings (stop pressing with the heels down) and stretch more forward and bend as if trying to reach with your abdomen to the thighs. You will notice that your forward bend is much better now.
Synchronize stretching towards the toes with inhalations and bending forward with exhalations. Always use your breath to enhance your stretch and feel more comfortable while holding any asana.